Improved Elihu Thomson Coil (Jumping Ring)
;)
My previous Elihu Thomson (I'm pretty sure that it isn't "Thompson") Coil -- worked okay, but my new one works like a dream, though it is a bit expensive to make, mostly because copper costs so much these days.
Parts:
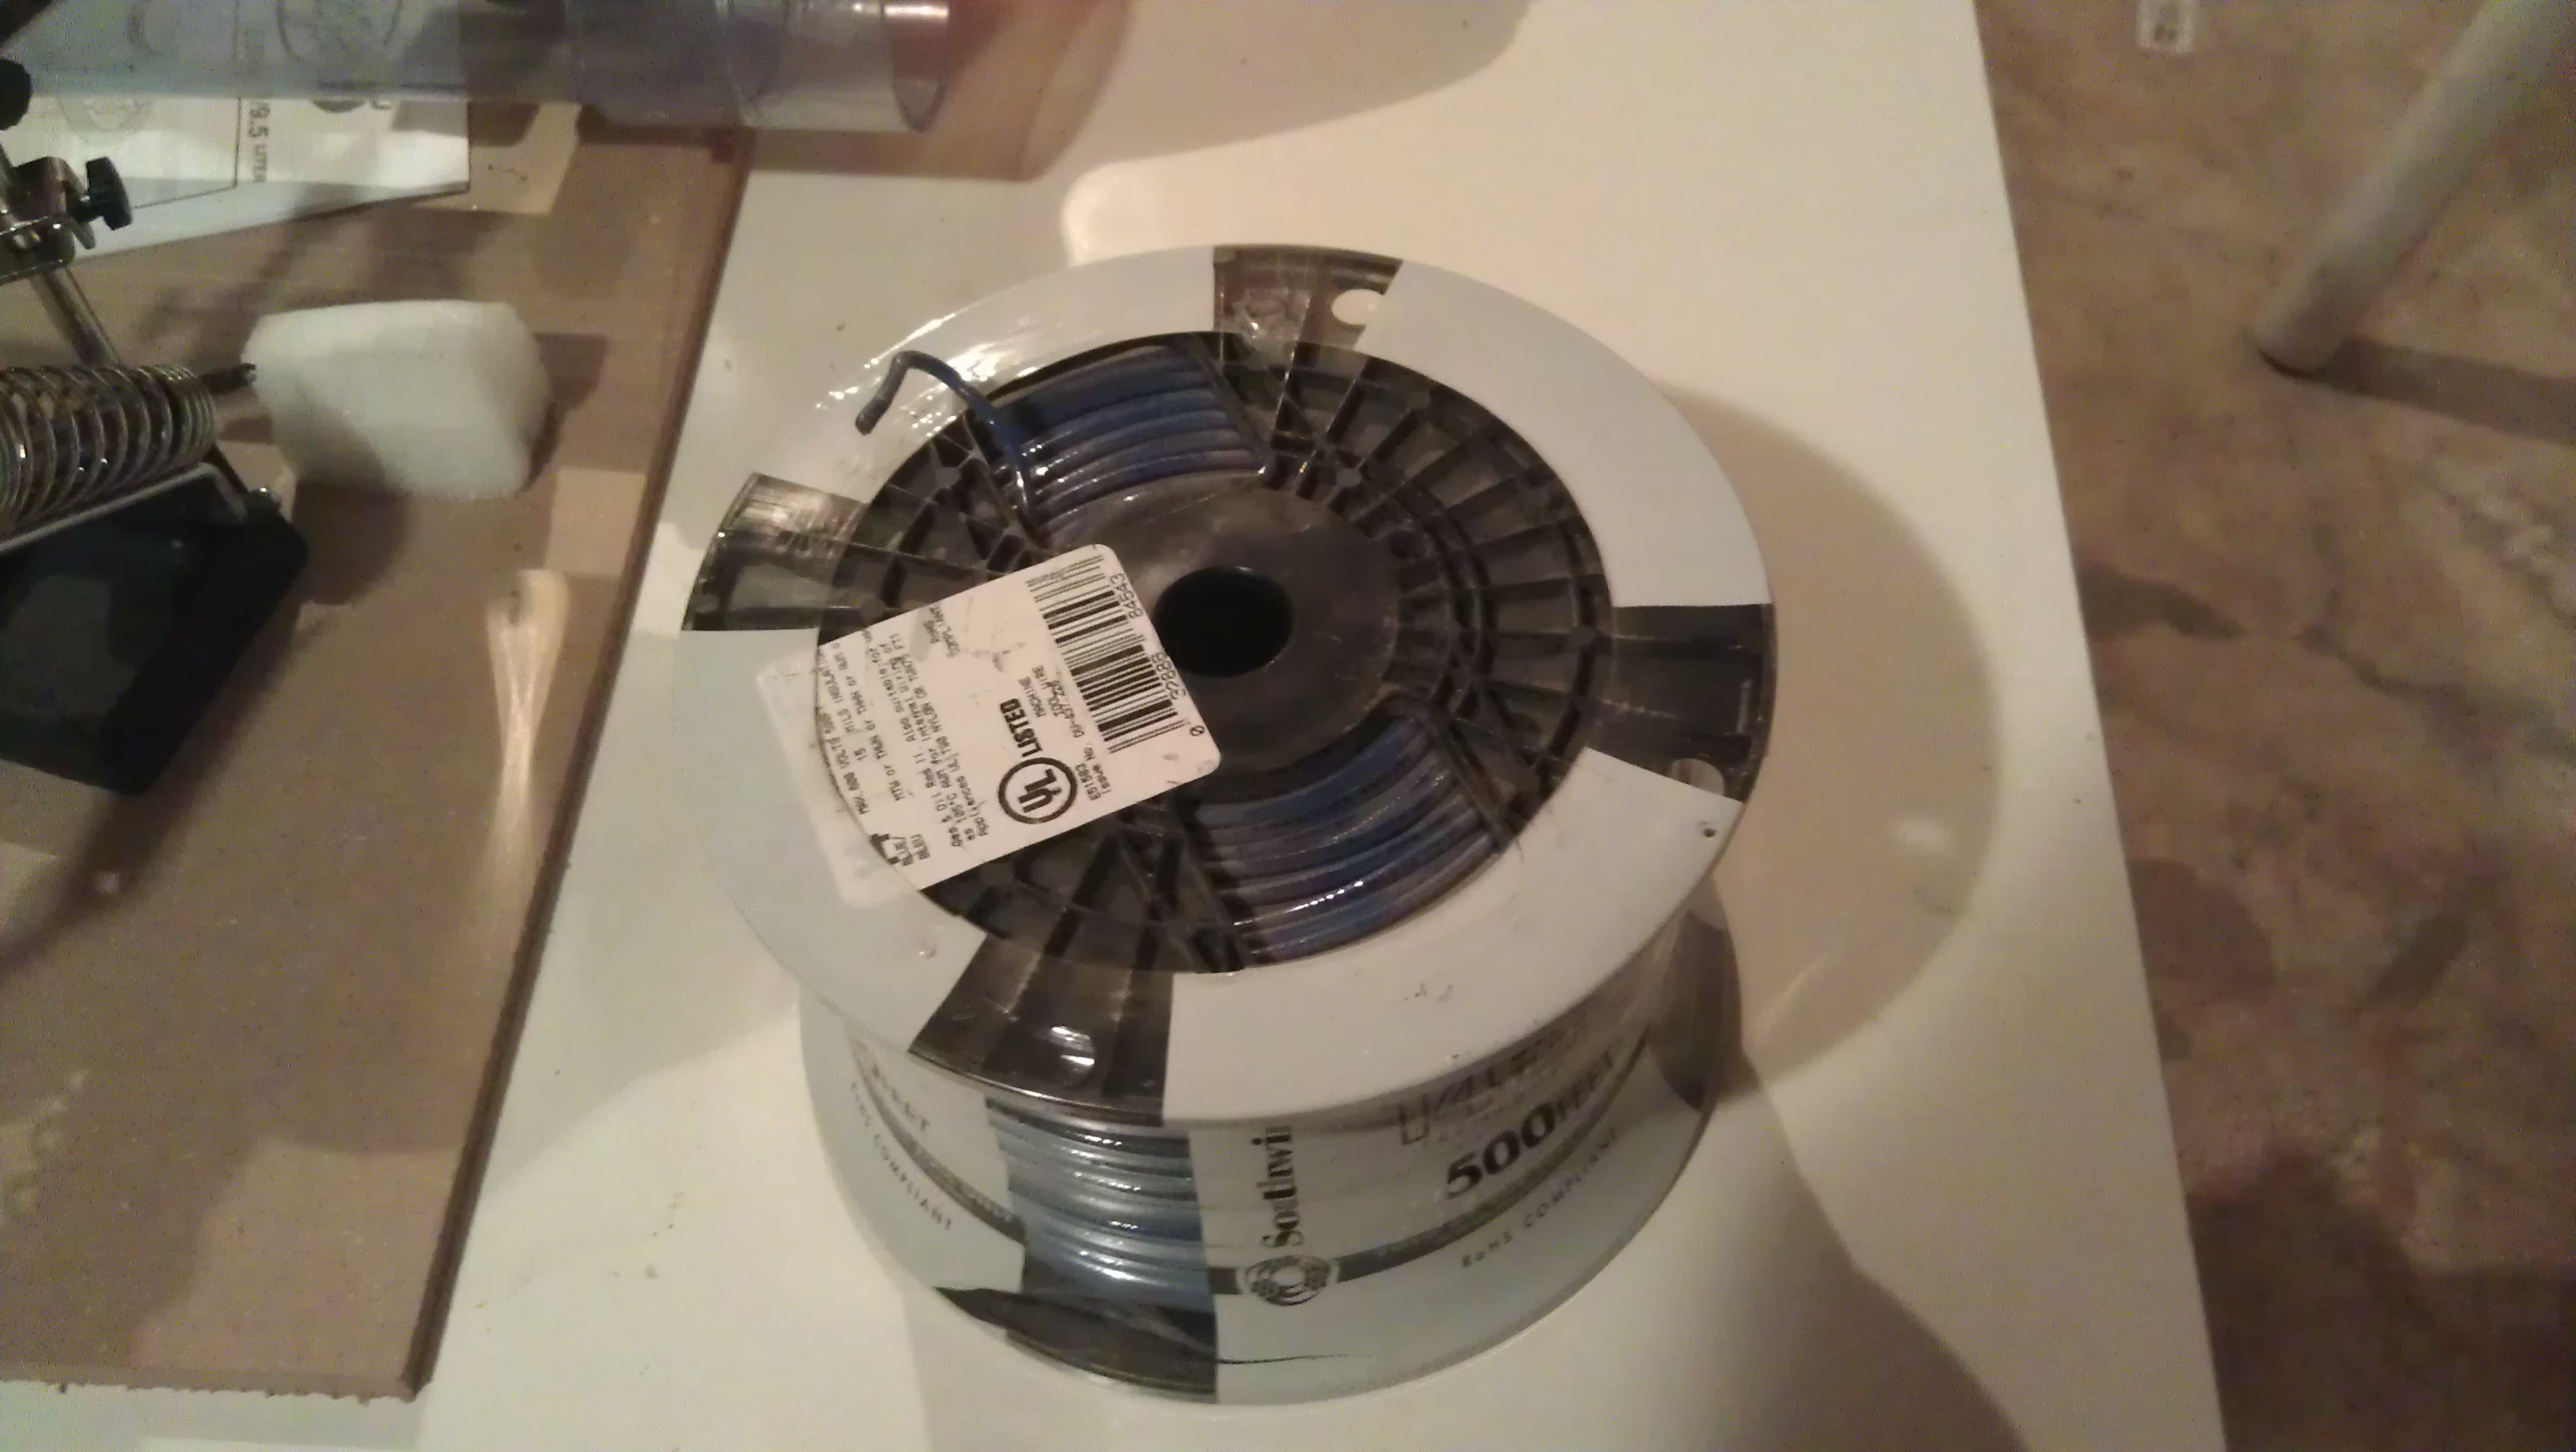
- 500 ft spool of stranded (if you can find it) 12 or 14 gauge copper single conductor wire like this
- sacrificial extension cord
- heat shrink
- 1 1/2 inch schedule 40 or 80 PVC pipe (about 14 inches long)
- drop ceiling wire or iron welding rods (you are looking for thin iron or mild steel wires at least as long as you PVC pipe) I needed about 100 feet
- lever action mini bolt cutters like one of these
- polyurethane spray
- aluminum and copper rings (see below)
Step 1: Find the right spool of copper wire
;)
When the manufacturer coils a spool of wire, sometimes they tuck one end of the wire through a gap in the spool towards the center. This is called the tail, and you want to buy a spool that has this. I've outlined it in red. Most do, but you'll need to check. Sometimes it is tucked into the center of the spool; that will work but it's less convenient.
Step 2: Expanding the hole.
;)
The spool will have a small hole for hanging on a bar, but you want a bigger hole. Use a hacksaw blade with tape around one end as a handle. Cut the hole so that it matches the outside diameter of your piece of PVC. ;)
Step 3:
;)
Cut the outlet end of the extension cord off. Strip some insulation off the cord. Do the same to the wire on the spool.
Slip heatshrink onto the extension cord and slide down. Attach one wire from the spool to one wire from the extension cord. This needs to be a strong attachment. I used the NASA standard for splicing since it strongly resists coming apart. Solder the one end of the coil to one wire of the extension cord. Do the same to the other wire. Pull the heatshrink down and use a heatgun to shrink. You may notice that I used several layers of heatshrink to get the insulation to the same thickness on both ends.
This is kind of important. You are going to plug this into the wall with 120 V available. You don't want to touch 120 V.
Note: Some people will want to connect a momentary or push button switch instead of just plugging the coil into the wall or using a power strip. I understand. It is possible that the launcher will overheat and there is live wall current. I didn't do that, but you might have a different standard of safety.
Step 4: Cutting the wires.
;)
Cut the steel wires to the length of the tube. Standard wire cutters won't work. You'll need the mini bolt cutters. Even with a jig, I find it hard to cut them all to the same length.
;)
Spray them with polyurethane to make them insulating. We want to minimize eddy currents in the wires.
;)
Push them as tightly as you can into the PVC tube. I needed a mallet. The wires aren't held in with glue. Friction seems to be enough.
Step 5: Buy some rings
Online Metals seems to be a good place to order aluminum or copper tubing. If you go with 1.5 inch PVC then 2.25 inch outside diameter aluminum tubing works well. I found that the 0.125 wall thickness tubing fired the highest, but I also got some thicker 0.25 inch tubing. They will cut to length, and I got 2 inch, 1 inch, and 0.5 inch long pieces. I also bought equivalently sized copper to show that though it is a better conductor, it doesn't fly as high. The copper is expensive, though.
The rings will come with sharp edges. A knife blade will clean them up but a deburring tool works better.
;)
;)
Enjoy!
 Demos
Demos 