Botanical extractions are pretty delicious, but they require patience. I'm not good with patience.
Dave Arnold pioneered using a whip cream siphon to extract quickly flavors from botanicals. He writes,
You can infuse flavors into liquor (and water based things, too) almost instantly with nothing more than an iSi Cream Whipper
. You can use seeds, herbs, spiced, fruits, cocoa nibs, etc. Here’s how:
Put room-temperature booze into the cream whipper. Add herbs, seeds, whatever. Close the whipper and charge it with nitrous oxide (N2O –the regular whipped cream chargers
). Swirl gently 30 seconds and let stand 30 seconds more. Quickly vent the N2O out of the whipper, open it, and strain out the infusion. Done.
iSi has some more information and recipes here.
The science behind this is pretty interesting. Extraction can only happen where the alcohol touches the material. Chopping it into finer bits helps by making more surface area, hence grinding coffee.
;) Finer ground increases the area for extraction.
Finer ground increases the area for extraction.
You can do better than this, though. Lots of plant material have tiny pores in them that zigzag throughout, increasing their surface area. Alcohol, though, can't get into these holes because they are so small. Imagine a single drop of alcohol. If a hole is much smaller than that drop, then alcohol will have a hard time getting in. Additionally, the holes are filled with air, and it has to get out before the alcohol can get in.
Showing this can be a challenge. The botanicals and their pores are so small, but I can show you a model of what is happening. Here's a pipette. I sucked in some blue dye, than I sealed the big hole in the bottom with hot glue. Last, I poked a bunch of holes in the side with a thumb tack. Even though you can't see it there are holes where the dye is.
;) Poking tiny holes with a thumb tack.
Poking tiny holes with a thumb tack.
I can put the dropper in bottle filled with liquid and the dye doesn't come out.
;)
Don't get me wrong: liquid can slowly make its way into those holes just like it can in the pores in coffee or orange peel, tiny bit by tiny bit, with air slowly dissolving out through diffusion. It takes a long time. Patience is required.
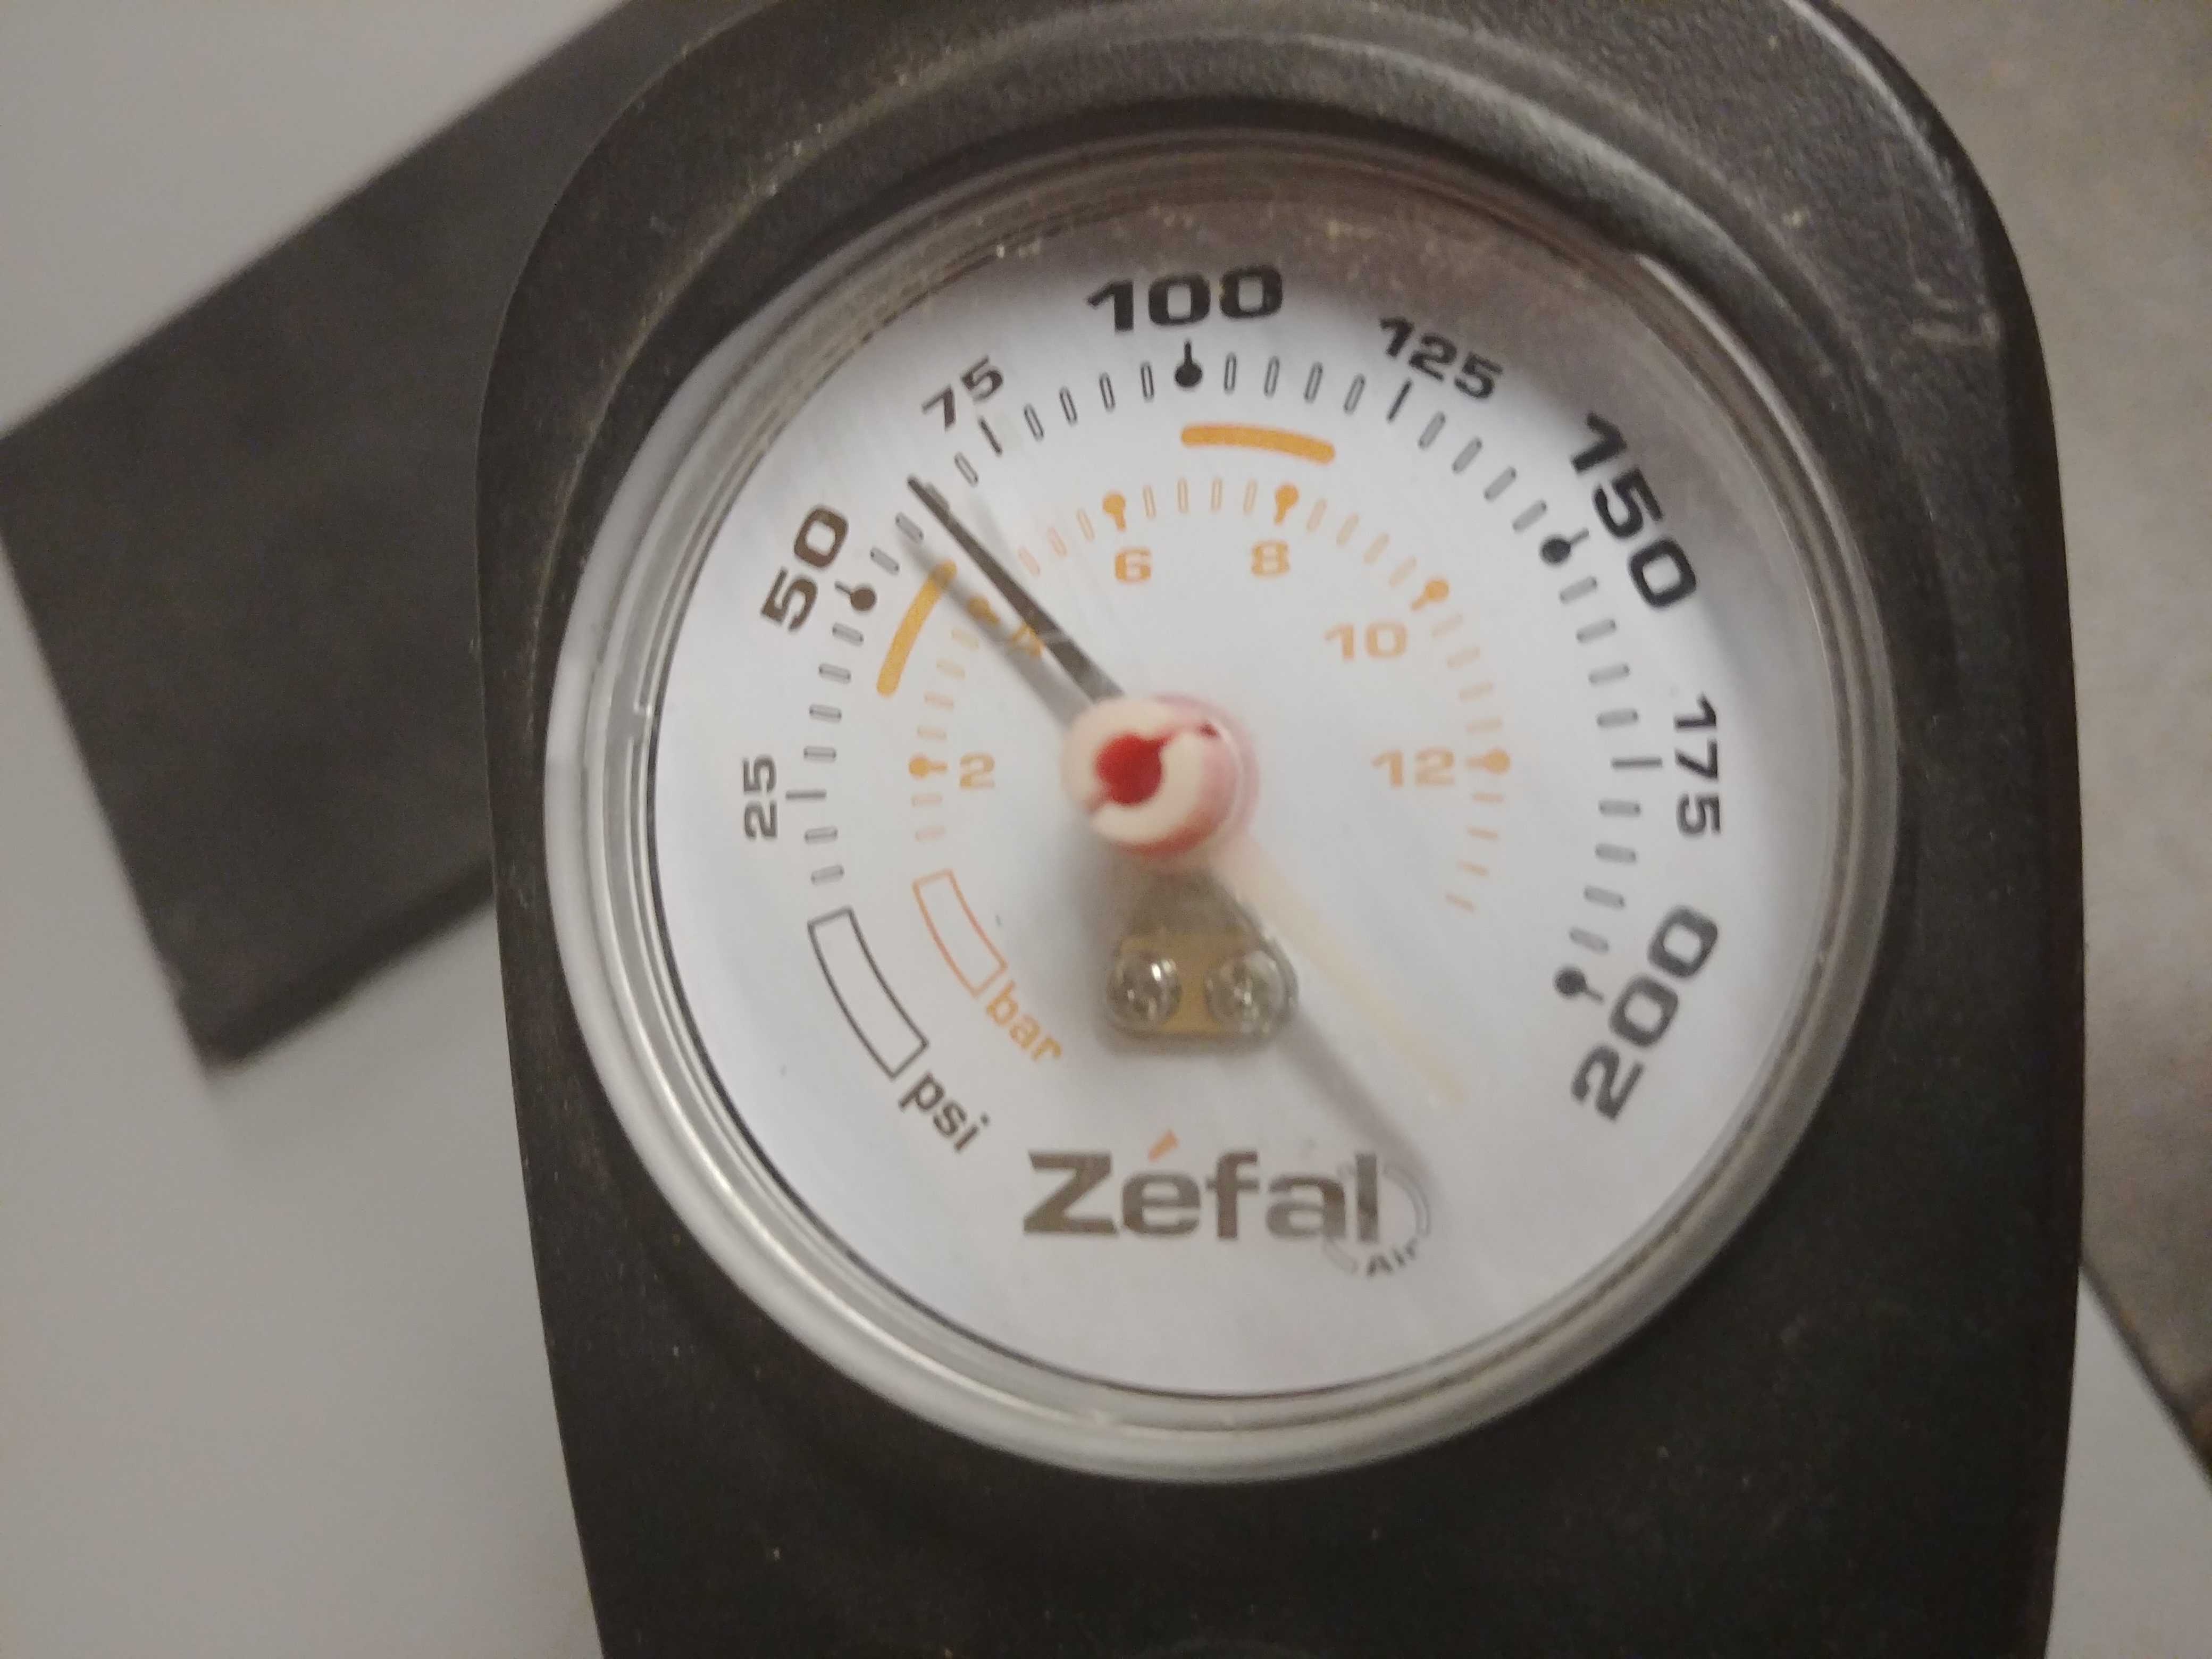
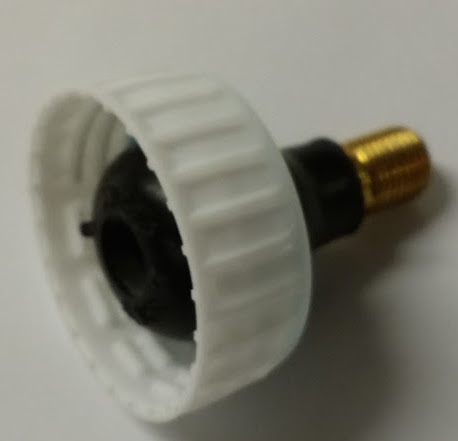
What if you don't want to wait? You can try to shove the alcohol in harder. Pushing on a liquid is hard, but we can use air pressure to do the pushing. At the top of the bottle you can see a tire valve built into the cap. I can use a bicycle pump to increase the pressure in the bottle, pushing on the water and shoving it through the tiny holes into the pipette.
 Under pressure
;) Pressure inside the bottle pushes water into the pipette.Put alcohol and the botanicals inside a pressure vessel (like an iSi siphon) and increase the air pressure above the liquid. The air pushes on the liquid which then is pushed into the holes. Now we can use more of the surface area.
Pressure inside the bottle pushes water into the pipette.Put alcohol and the botanicals inside a pressure vessel (like an iSi siphon) and increase the air pressure above the liquid. The air pushes on the liquid which then is pushed into the holes. Now we can use more of the surface area.
While the pressure in the bottle is significant, it isn't high enough to squish much alcohol into our botanicals. We need more than 10X atmospheric pressure. For that we have have a whipper. We put the botanicals in the iSi and then use nitrous oxide to pressurize the container. We could use carbon dioxide but that leaves the food tasting sour until the carbon dioxide escapes. Nitrous oxide has less flavor. Some people think that it tastes mildly sweet.
Getting the liquid back out with our flavors is even easier: open the pressure vessel. When the liquid went into the pores, it didn't actually push most of the air out of the holes, instead it compressed the air. Once the pressure is released, the gas expands pushing some of the liquid back out.
Breaking Under Pressure Activity
Tiny holes can keep the water out but only so far
Materials
- Safety glasses
- 1-liter clear soda bottle with cap
- Schrader car tire replacement valve (like this one)
- step drill bit (like this one)
- food coloring (probably blue or green is best)
- transfer (disposable) pipette (like this one)
- small nut with an inside diameter about the same size as the shaft of the pipette
- glue gun
- bicycle pump with pressure gauge
Construction
-
Put on safety glasses.
-
Remove the label.
-
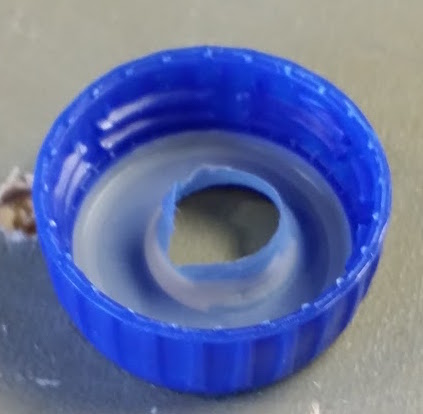
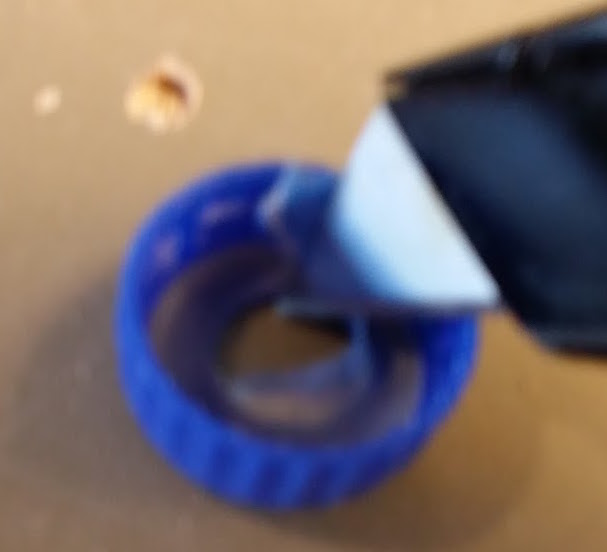
Measure the diameter of the neck of your Schrader car tire replacement valve. Use the step drill to drill a hole in the cap and through the rubbery liner that is one step smaller than the valve.
-
Trim the liner but don’t remove it. It makes for a better seal.
-
Push the Schrader valve into the cap like in the picture. This is easier said than done, but keep working at it.
-
(Food coloring stains. Do the next two steps over a sink.) Draw a couple of milliliters of food coloring into the pipette. Tap the pipette against sink to settle the ink into the bulb.
-
Hold the pipette so that the openning is upwards. Squeeze the bulb so that ink in the shaft is squirted out. Then put a drop of hot glue on the opening and release the bulb. Hot glue will be drawn into the end sealing it off.
-
Slip a the nut over the shaft and bring it near the bulb. Hold it in place with a dab of hot glue underneath.
-
Turn the pipette so that the bulb is on the top and allow the food coloring to slip back to the bottom. Poke several holes in the pipette above the line of the food coloring.
What to Do and See
Fill the 1 L bottle with 900 mL (approximately) of clean water.
Set the pipette in. Does water go into the holes you poked? Would it eventually?
Screw the cap on the bottle tightly. Attach the bicycle pump. Put on your safety glasses.
Pull up on the valve to make sure that it is seated to seal.
Use the pump to increase the pressure in the bottle to 25 PSI. Does water go into the pipette?
Pump a couple more times to increase the pressure to 50 PSI. The bursting strength for most bottles is over 100 PSI, but no reason to get close as the activity works just as well at 50 PSI. If the bulb looks collapsed, be a bit patient. The bulb will expand when the pressures are balanced. You should notice that the pipette is full of fluid.
Disconnect the bicycle pump. Release the pressure by pushing on the stem in the valve. What happens to the liquid in the pipette?